Organise Your Creativity: Using Planners for Cross Stitch Projects
Cross stitch is a hobby that blends creativity, patience, and precision. But with so many beautiful designs to stitch, it’s easy to lose track of what you’ve started, which threads you’ve used, or what you plan to create next. That’s where a cross stitch planner becomes an essential tool — helping you stay organised, inspired, and motivated from start to finish.
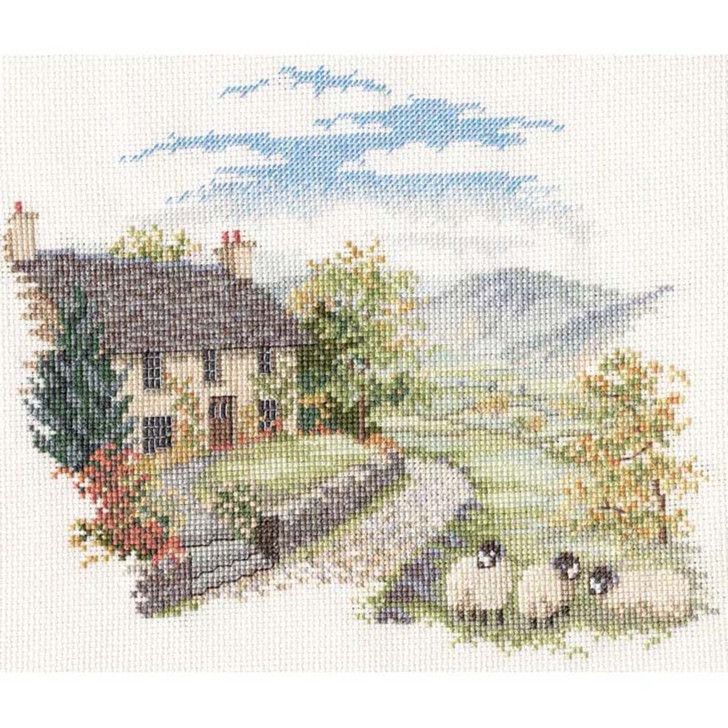
A planner gives your stitching life structure and clarity. Instead of juggling loose notes or scattered supplies, you’ll have everything recorded in one neat, creative space. Whether you’re working on a small Christmas ornament or a large, detailed sampler, planning keeps your projects manageable and your mind calm.
Why Use a Cross Stitch Planner?
A planner helps transform your stitching routine into an enjoyable and productive process. It allows you to:
Track multiple projects – Many stitchers work on more than one piece at a time. Your planner lets you list each project, record its stage, and set completion goals.
Record materials and colours – Keep track of fabric type, thread brands, and colour numbers. This is invaluable for future reference, especially if you want to recreate or share your work.
Plan your stitching time – Scheduling short, regular sessions helps you make steady progress and gives you a sense of achievement.
Manage your budget and inventory – Track what you already have, note what you need, and prevent unnecessary duplicate purchases.
Celebrate your accomplishments – Each completed project tells a story. Your planner becomes a personal record of creativity, effort, and growth.
Tips for Getting the Most from Your Planner:
1. Start with a Project Overview
Begin each entry with the project’s name, designer, fabric details, and a small image or sketch. Include your start and finish dates — it’s inspiring to see how your skills develop over time.
2. Use Colour Codes and Stickers
Organise your planner visually by using colours or symbols for different types of projects. You might mark gifts in one colour, seasonal designs in another, and personal pieces in a third.
3. Keep a Thread Inventory Page
Record the threads you have and tick them off as you use them. This simple step saves money and ensures you’re never short of a specific shade when you need it most.
4. Add Progress Photos
Print or paste small photos of your work as it evolves. Watching your progress unfold is both motivating and rewarding — especially on large, detailed pieces.
5. Include Reflections and Notes
Write about what you enjoyed, what you found challenging, and any new techniques you tried. These notes become valuable insights for your future stitching adventures.
Stitch Smarter with a Dedicated Planner.

You May Also Like
Boost Your Productivity: How Using a Planner Can Help You Get More Don